How To Use Duo Effects – HTC One M8

Learn how to use Duo Effects on your HTC One M8. Liven up photos taken on HTC One with Duo Effects. Do creative things with your photos such as changing the subject of the focus, applying artistic filters to the background, changing the angle of the photo, and more.
Note
- You can’t use a cropped photo.
- You can’t apply Duo Effects more than once to a photo.
UFocus
It’s easy to change the focus in a photo taken with the Duo Camera. With UFocus you can create different versions of the same moment, anytime.

- In Gallery, open the photo you want in full screen, tap it, and then tap Edit icon.
- Tap Edit icon > UFocus icon.
- Tap anywhere on the photo to focus on objects in the same relative distance.
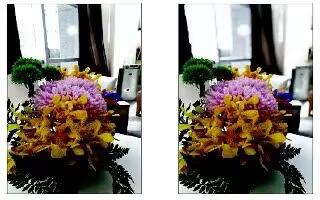
Here are the before and after photos.
Fore-grounder

Give your photos an artistic touch such as applying a pencil sketch look to the background.
- In Gallery, open the photo you want in full screen, tap it, and then tap Edit icon.
- Tap Edit icon > Image icon.
- Tap a thumbnail to apply the effect.
- Tap anywhere on the screen to change where to apply the effect.
- Tap Save icon to save the photo.
Seasons

- In Gallery, open the photo you want in full screen, tap it, and then tap Edit icon.
- Tap Edit icon > Season icon.
- Tap a season to apply the effect.
- Tap Timestamp icon or Location icon to add a timestamp or location information on the photo.
- Tap Save icon > Save as photo or Save as video.
Dimension Plus
Have you ever taken a picture of something and later wished you could have taken it from a slightly different viewpoint? With Dimension Plus you can create the illusion that the photo was taken at a different angle.
- In Gallery, open the photo you want in full screen, tap it, and then tap Edit icon.
- Tap Edit icon > 3D icon.
- Try any of the following:
- Tilt HTC One to see the photo from different angles.
- Tap 3D icon at the bottom-left corner and then drag your finger on the screen to change the angle. Tap 3D icon to return to tilt mode.
Here are the before and after photos.

- Tap Save icon to save the photo, and then choose how to save it.
Fine tuning your 3D subject

- While editing your photo with the Dimension Plus effect, tap Edit icon.
- Draw an outline around the objects you want as your main subjects. You can refine your selection by using the + icon or – icon tools.
Note
Tap Zoom icon to zoom and pan for a more accurate selection.
- Tap Done to finish selecting your subjects.


 RSS - All Posts