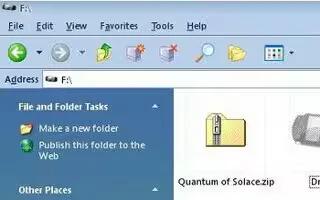
If you want to protect a file any one, audio, video or anything and you had like to make it inaccessible to other users? This is for you. This article is mainly for Microsoft Windows users, follow the simple steps below
Right click, on the desktop or in a folder, on the white or vacant space. Go to “new, a new menu should show up next to it. Go to “Compressed (zipped) folder. Give the file a name.
Double-click the file; it will open up as a folder window
Drag any of the files you wish to protect into this window
Right click in this window on the white or vacant space, Go to “Add a password…” The password can be whatever you want it to be, but keep it easy to remember, but hard for hackers to guess.
Delete the private files that are anywhere else
There you have it. You have your very own password-protected folder.
Note
The password can be whatever you want it to be, but keep it easy to remember, but hard for hackers to guess.
Be sure you save it to a disk in case you need to access this folder to another computer.
Close the folder every time you leave the room so other users won’t have access to this file.
Follow these directions precisely and carefully. Should you screw this up, it’ll will be difficult to go back and undo any mistake you made.
Don’t forget the password. (Obviously)
