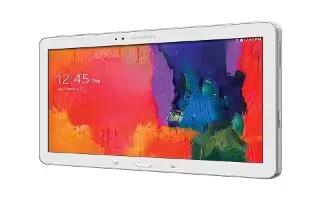
Learn how to use Gmail on your Samsung Galaxy Tab Pro. Send and receive email with Gmail, Googles web-based email service.
- From a Home screen, touch Apps icon > Google folder icon > Gmail icon.
Setting Up Your Gmail Account
If you did not set up a Google Account during the initial configuration, the first time you launch Gmail, your device prompts you to set up your Google Account.
- Touch Gmail icon.
- Follow the prompts to sign in or create a new account. The device communicates with the Google server to set up your account and synchronize your email. When complete, your Gmail displays in the Inbox.
Note: You can use more than one Google Account on your device. From a Home screen, touch Apps icon > Settings icon > General tab > Accounts > Add account > Google to add an additional Google Account.
Composing and Sending Gmail
- Touch Gmail icon.
- Touch Compose icon, then touch fields to compose the message. While composing a message, touch Menu Key for options.
- Touch SEND icon to send this message.
or - Touch Menuicon > Save draft to save a draft of this message.
Refreshing Your Gmail Account
Refresh your account to update your device from the Gmail servers.
- Touch Gmail icon.
- While viewing your Inbox, drag your finger downward across your messages.
Gmail Settings
Use the Gmail Settings to configure your Gmail preferences.
- Touch Gmail icon.
- Touch Menuicon > Settings for settings.
Note
This guide will work on all Samsung Galaxy Tab Pros; including Samsung Galaxy Tab Pro 8.4, Samsung Galaxy Tab Pro 10.1 and Samsung Galaxy Tab Pro 12.2
