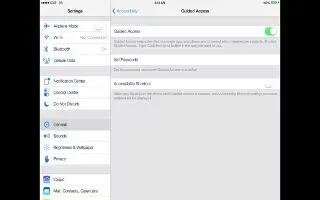
Learn how to use guided accessibility on your iPad Air. Guided Access helps someone using iPad to stay focused on a task. Guided Access limits iPad to a single app, and lets you control which app features are available. Use Guided Access to:
-
Temporarily restrict iPad to a particular app
-
Disable areas of the screen that arent relevant to a task, or areas where an accidental gesture might cause a distraction
-
Disable the iPad hardware buttons
Use Guided Access. Go to Settings > General > Accessibility > Guided Access, where you can:
-
Turn Guided Access on or off
-
Set a passcode that controls the use of Guided Access and prevents someone from leaving an active session
-
Set whether other accessibility shortcuts are available during a session
-
Start a Guided Access session. Open the app you want to run, then triple-click the Home button. Adjust settings for the session, then click Start.
-
Disable app controls and areas of the app screen: Circle any part of the screen you want to disable. Use the handles to adjust the area.
-
Enable the Sleep/Wake or Volume buttons: Tap Options below Hardware Buttons.
-
Ignore all screen touches: Turn off Touch.
-
Keep iPad from switching from portrait to landscape or from responding to any other motions: Turn off Motion.
-
End a Guided Access session.
-
Triple-click the Home button and enter the Guided Access passcode.
