5 Methods To Run Android Apps And Games On Your Windows PC
Smartphones are slowly becoming an essential part of our daily life. Smartphones offer features and apps that are not commonly available on PC. It is particularly true if you have used an Android phone. Unfortunately, despite their importance in our life, it is difficult to integrate Android apps with your PC. Running Android apps usually requires an Android smartphone or tablet – obviously! – but what if you need to use Android apps or want to play Android games on your PC?
Fortunately, with a little legwork, you can run Android apps on a regular old Windows PC. There are a few different ways to go about it, each with their own strengths and weaknesses. In this article, we have come up with 5 best ways to run Android apps and games on Windows-based PC with the help of popular emulators and most popular browser, Google Chrome. So, without further ado, let us begin.
1. BlueStacks
The BlueStacks App Player is free to use. The program will allow you to run Android apps on your Windows machine. It boasts a custom-designed interface that makes it easy to toggle emulation settings and launch apps. It also uses its own “Layercake” technology that uses hardware accelerators to improve the performance of Android games in Windows. However, as it is not a full Android emulator, you will not get the full Android experience.
In order to use BlueStacks you will have to sign-in with a Google account; if you do not have already have one you will need to sign up for one as you would on any Android device.


Installing Bluestacks could not be easier. Because it is entirely self-contained, you can install it just like any other Windows program. Here is how to install Bluestacks to your computer’s hard drive:
- Download the installer from the official Bluestacks website.
- Launch the installer, and choose the storage location for app and data files. Unfortunately, you cannot change the Bluestacks directory – it will install on your boot drive by default.
- Once Bluestacks finishes installing, launch it. Enter your Google account credentials – you will log into the Google Play Store, where you will find all of your installed and purchased apps.
- Once that is done, click on the search button on the My Apps Page to search for the game you wish to download.
- You will get a prompt to select the store, so you can download Android apps.
- Once you select the store of your choice, you will be directed to the downloads page of the game.
- Install the app
- It will now be there on your my apps page.
- Click on it to run it.
- Your app/game will now start.
Download Link: BlueStacks
2. GenyMotion
While a lesser-known Android emulator, GenyMotion is very popular in the Android Dev Community, for the performance it offers. This does not mean you need to be an Android developer to take advantage of GenyMotion, it does not take too long to set it up.


- Head over to the GenyMotion website (GenyMotion.com) and sign up for an Account.
- Now download the app install it.
- Now launch GenyMotion and Sign In Using your GenyMotion Account.
- Click on “+ Add” to add an Android Device.
- Download a version of your choice.
- Once successfully downloaded and deployed, you will find it on your virtual devices list.
- Select it and click on the Play button.
- Wait for your device to boot.
- Once the device is running, use windows explorer to browse to the location which has your Android app.
- Drag and drop the .apk file on to the GenyMotion window.
- You will see a ‘file transfer in progress’ prompt.
- Once the game has been transferred, it will automatically run.
- And now you can play your favorite game in the comfort of your PC.
Download Link: GenyMotion
3. Android Studio
One popular way to get Android apps running on a PC is to go through the Android emulator released by Google as part of the official Android Studio. The emulator can be used to create virtual devices running any version of Android you want with different resolutions and hardware configurations. The first downside of this process is the somewhat complicated setup process.
You will need to grab the installer from Google’s site and run through the setup process to download the platforms you want – probably whatever the most recent version of Android happens to be at the time (7.1 at the time of publishing). Google has some pre-configured emulation options available in the menu for Nexus/Pixel devices, but you can set the parameters manually, too. Once you have booted your virtual device, you will need to get apps installed, but the emulator is the bone stock open source version of Android – no Google apps included.
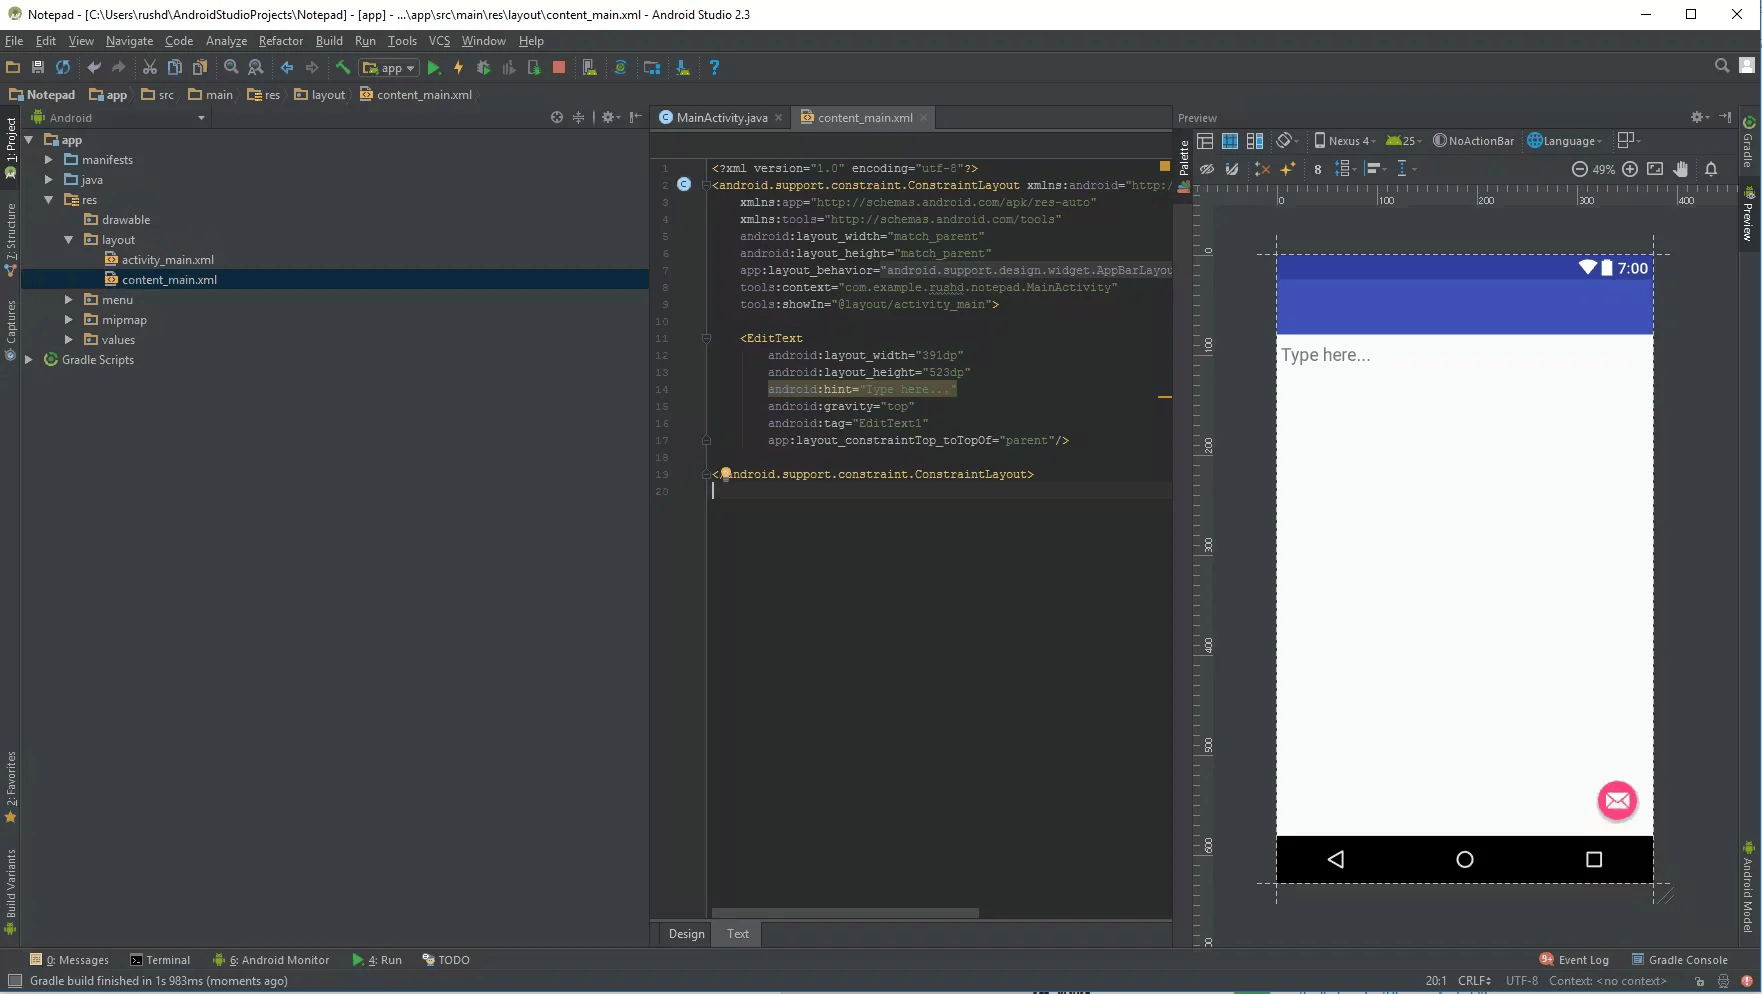
Android Studio
Since there is no Play Store, you need to do some file management. Take the APK you want to install (be it Google’s app package or something else) and drop the file into the tools folder in your SDK directory. Then use the command prompt while your AVD is running to enter (in that directory) adb install filename.apk. The app should be added to the app list of your virtual device.
The big upside here is that the emulator is unmodified Android right from the source. The way apps render in the emulator will be the same as they render on devices, and almost everything should run. It is great for testing app builds before loading them onto test devices. The biggest problem is that the emulator is sluggish enough that you will not want to make a habit of running apps in it. Games are really out of the question as well.
Download Link: Android Studio
4. Android-X86
Android-x86 is an open source project that seeks to port the newest version Android to Windows hardware. Unlike Remix OS, which ships with an interface that mimics modern PC operating systems, Android-x86 is stock Android – the same version of Android that runs on smartphones and tablets.
Since the native version of Android is not optimized for most PC setups, Android-x86 can be a little unintuitive. Checking notifications, for example, requires that you click and drag the notification bar. And apps take up your PC’s entire screen – you cannot view them in resizable windows like you can in Remix OS.
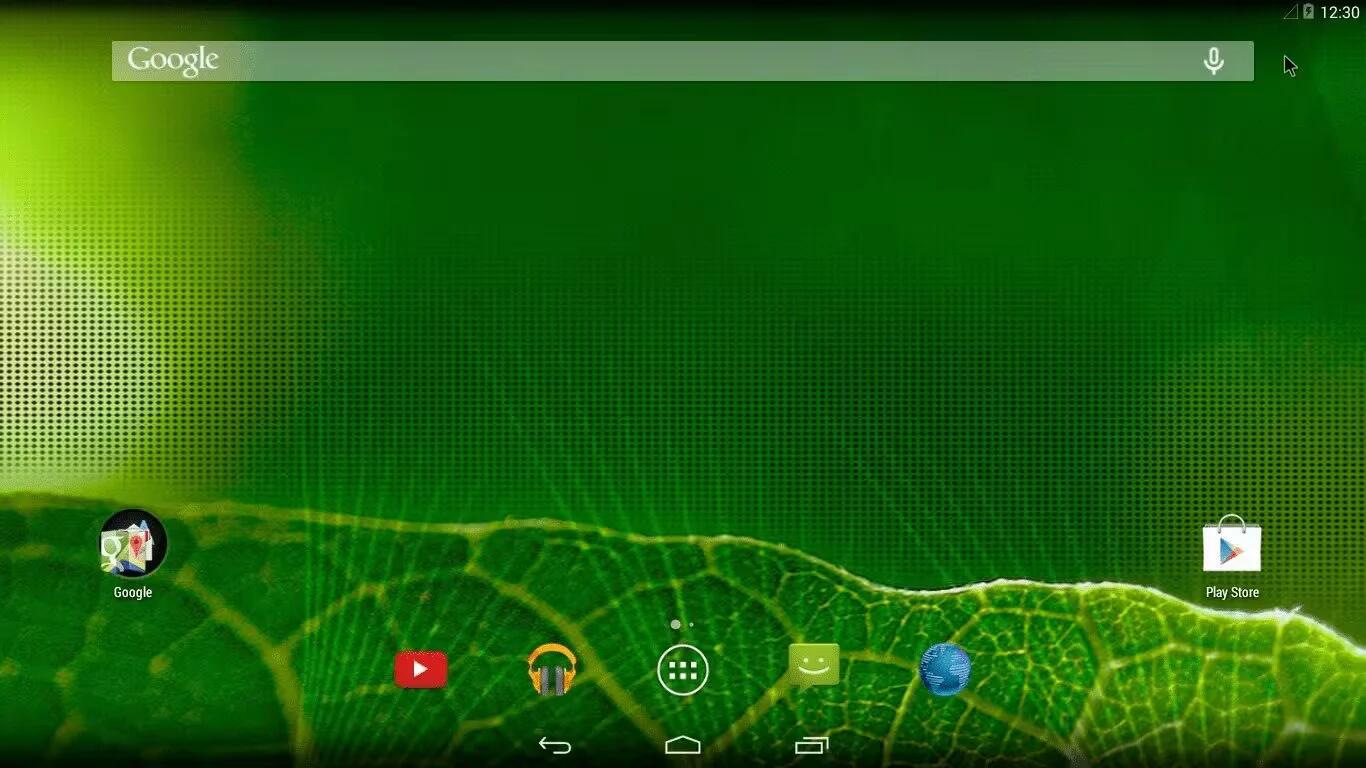
Android x86 OS
However, Android-x86 lets you customize Android to your liking. You can install third-party themes, home screens, and more without having to worry whether or not they will play nicely together – unlike Remix OS.
Hardware requirements
You can see this list of supported devices by visiting – http://www.android-x86.org/hardware-list
Here is how to install Android-x86 to your PC’s hard drive. First, make sure your computer’s hard drive has at least 2 GB of free space and follow the below steps.
- Download the latest Android-x86 ISO. If your device is not listed, download the generic file.
- Download UNetbootin.
- Open UNetbootin and select the Android-x86 ISO file you downloaded earlier.
- Select USB drive from the list of options, and click OK. Wait for UNetbootin to copy and install Android-x86 to your flash drive.
- Reboot your computer.
- Boot to the Boot Device Selection screen, and select your flash drive.
- From the UNetbootin menu, select “Install Android-x86 to hard disk”.
- Select the partition – or location – to which you want to install Android-x86. The program will ask if you want to format the disk; if you are unsure, do not.
- You will be asked if you want to install GRUB. Select “Yes”, and “Yes” again.
- You will be asked if you want to “make system r/w”, which enables Android-x86 to read and write data to your hard drive. Select “Yes”.
- Reboot your computer for the second time.
Download Link: Android-X86
5. Using Google Chrome
During Google I/O 2014, Google announced that it was bringing Android Apps to Chrome OS in an attempt of unifying the two platforms. While this was a good news only for Chromebook owners, until this year, when Google launched Arc Welder.
Arc Welder is an app that you can install on your Chrome Browser, and then run Android Apps right on top of Chrome. What Arc welder does is, it unpacks the .apk file which is an Android app and converts it entirely into a chrome extension which can run on Google Chrome.


- First, install Google Chrome
- Go to the Chrome Webstore and install Arc Welder
- Note: The page says that the download size is 11MB but the actual download size is almost 150 MB, so be patient while it downloads
- Once downloaded, Launch the app
- You will need to choose a directory where Arc Welder can store your Apps
- Once that is done click on “+” to add your .apk file
- Wait for it to load
- Customize the orientation etc., accordingly
- Click on Launch App
- Your Android app will now start
Note: You can only install one app at a time using Arc Welder, so, to test other apps uninstall the installed apps.
Download Link: Google Chrome – Arc Welder
A few last words
While all of the above 5 methods provide an alternative to a physical Android device, the performance, and experience which real hardware offers will always be better than emulators. Also, Android apps are designed for devices based on touchscreen and PCs use mouse and keyboard for the input so it can sometimes be hard to get the controls right, especially on multi-touch games.
See Also
- 12 Best Education And Learning Apps For Android
- 7 Best App Lockers For Android
- 8 Best News Apps For Android